


Hosting Uno Platform WASM on AWS Amplify
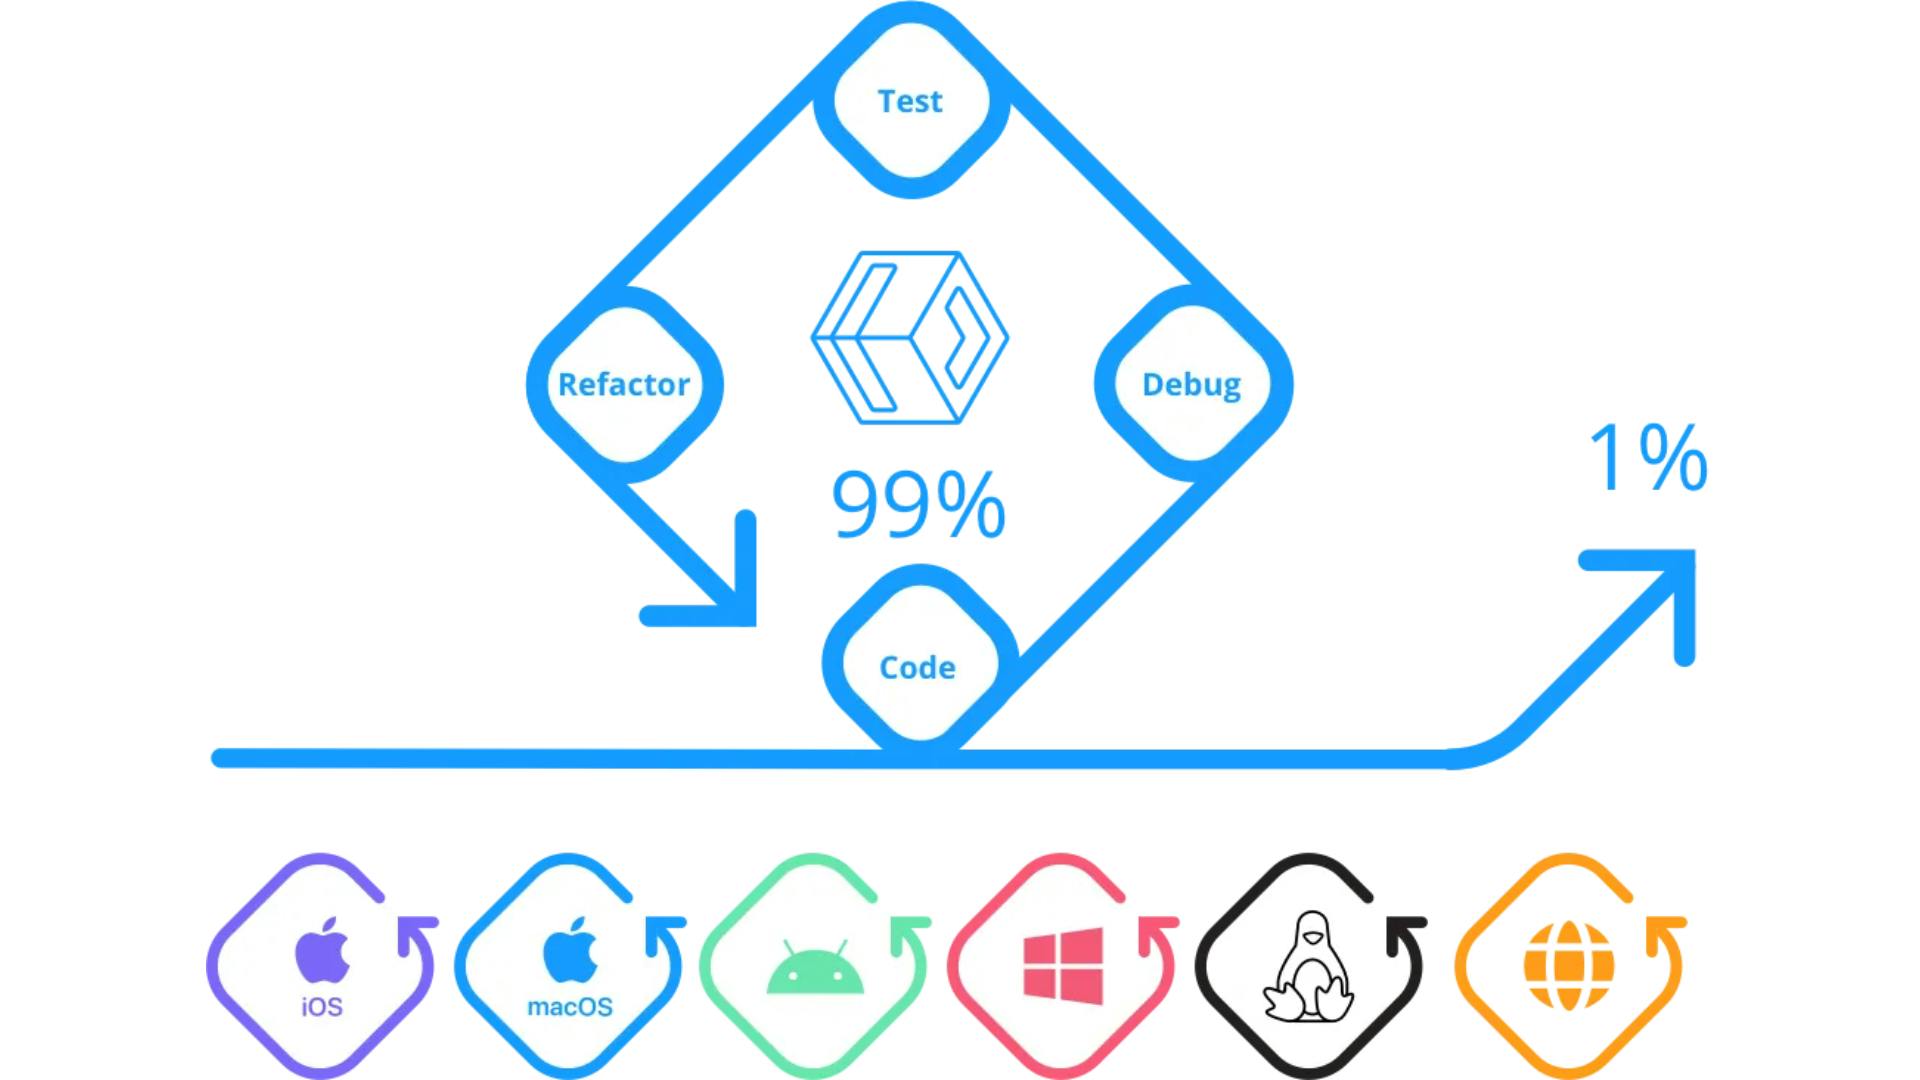
Uno Platform is an open-source environment for building multi-platform applications using C#, WinUI, and XAML from a single codebase.


Uno Platform acts as a bridge for WinUI and UWP apps to run natively on iOS, macOS, Android, Linux, and WebAssembly. You can run your C# and XAML source code unmodified and compile it on a different platform, and still have it behave the same at runtime.
Overview of solution
In this tutorial, you will deploy the WebAssembly port of an Uno Platform Application from a remote Git repository to AWS Amplify. You will create a .NET 7.0 Uno Platform Project on a local machine using Visual Studio Code, host it in a repository on GitLab, and point Amplify to publish the WebAssembly version using CI/CD tools.
This workshop can be followed on: Windows 11/Ubuntu 22.04 LTS/macOS 13.0 “Ventura”.
Getting started
You will walk through the following steps:
Create Uno Platform application on a local machine using the CLI.
Test/run the application locally.
Create a remote repository on GitLab.
Setup Amplify.
Test/run the application on AWS.
Prerequisites
For this tutorial, you should have the following prerequisites:
AWS Account – How to create an AWS account.
Dotnet 7.0 version, or higher – How to install Dotnet version.
Visual Studio Code on Windows/Linux/macOS – How to install VS Code.
Uno Platform Visual Studio Code Extension – Get the Extension here.
GitLab account – How to create a GitLab account.
Walkthrough
Setup Project environment and install dependencies:
Let's start with instantiating an Uno Platform application on a local machine:
First, install the Uno Platform Templates:
dotnet new Uno.ProjectTemplates.DotnetThen create a new Uno Platform project by running the following command (replace
<MyProjectName>with the actual name of your project):dotnet new unoapp -o <MyProjectName>Open your project in Visual Studio Code:
code ./<MyProjectName>Note: For this command to work, Visual Studio Code must have been configured to be launched from the terminal already.
Build Uno Platform Application locally:
In Visual Studio Code, locate your <MyProjectName> Class Library project and open up MainPage.xaml inside. Replace the Grid's content with the following lines of code. This will add a StackPanel, a Slider, and a Binder to give a responsive result on the first try. Your new Grid layout in MainPage.xaml should look like this:
<Grid>
    <StackPanel>
        <TextBlock Text="Hello, AWS!" Margin="20" FontSize="30" />
        <TextBlock Text="{Binding Value, ElementName=slider}"
            Margin="20" FontSize="30" />
        <Slider x:Name="slider"/>
    </StackPanel>
</Grid>
Now you can publish your new App layout to WebAssembly following these simple steps:
In the Visual Studio Code Activity Bar, Select
Terminal>New Terminal.In the new Terminal, navigate to the WebAssemby port folder:
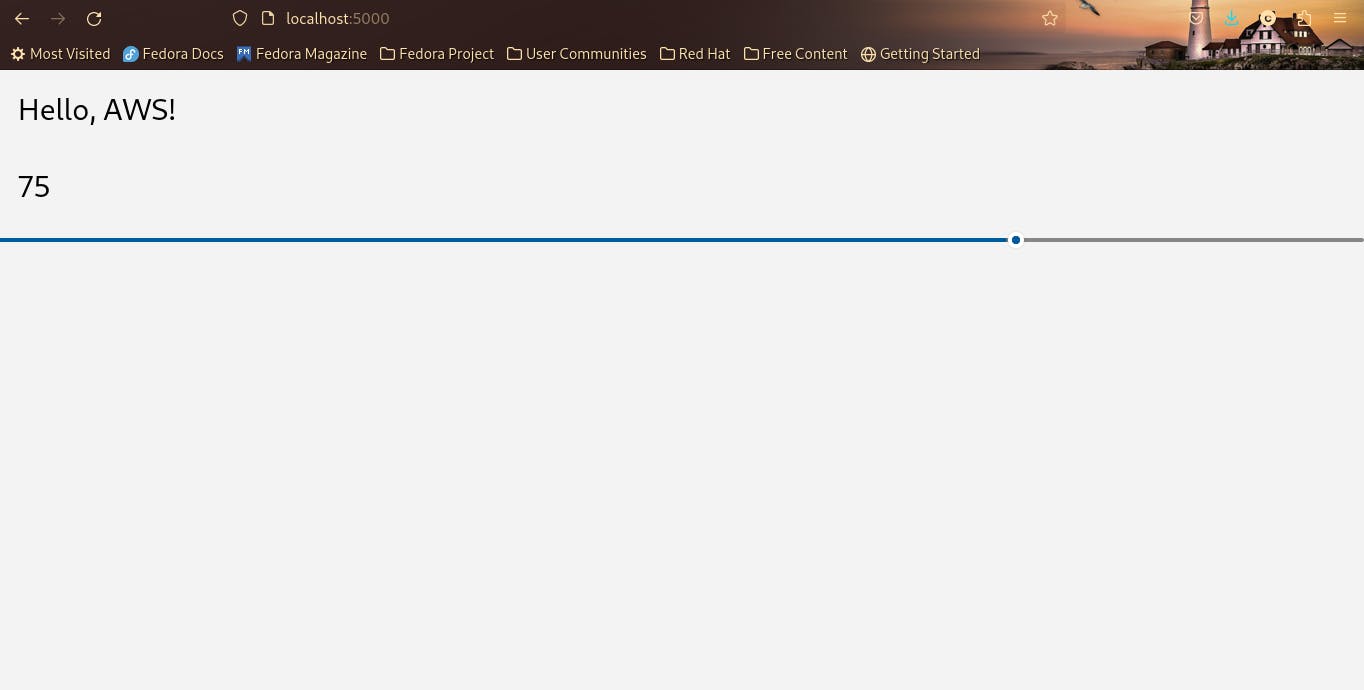
cd <MyProjetName>.WasmRun your application:
dotnet runCopy the URL after “Now listening on:”, and paste it into your browser — Example: http://localhost:5000 (the port might be different for you).
After testing your application, go back to the terminal and press
<Ctrl> + Cto stop the application.Publish your new WebAssembly build:
dotnet publish -c Release -o releaseThis will create the build artifacts also in a
releasefolder in your current working directory~/<path-to-my-project>/<MyProjectName>.Wasm.Next, you will create a
.gitignorefile for your Project in the root folder:cd .. dotnet new gitignoreAlso, in the root directory of your project, create a file named
amplify.yml. The name must exactly beamplify.ymland would contain the commands used by AWS CodeBuild to build your application.Copy and paste the following code to your
amplify.yml(again replace<MyProjectName>with the actual name of your project):version: 1 frontend: phases: preBuild: commands: - cd <MyProjectName>.Wasm - curl -sSL https://dot.net/v1/dotnet-install.sh > dotnet-install.sh - chmod +x *.sh - ./dotnet-install.sh -c 7.0 -InstallDir ./dotnet7 - ./dotnet7/dotnet --version build: commands: - ./dotnet7/dotnet publish -c Release -o release artifacts: baseDirectory: /<MyProjectName>.Wasm/release/ files: - '**/*' cache: paths: []
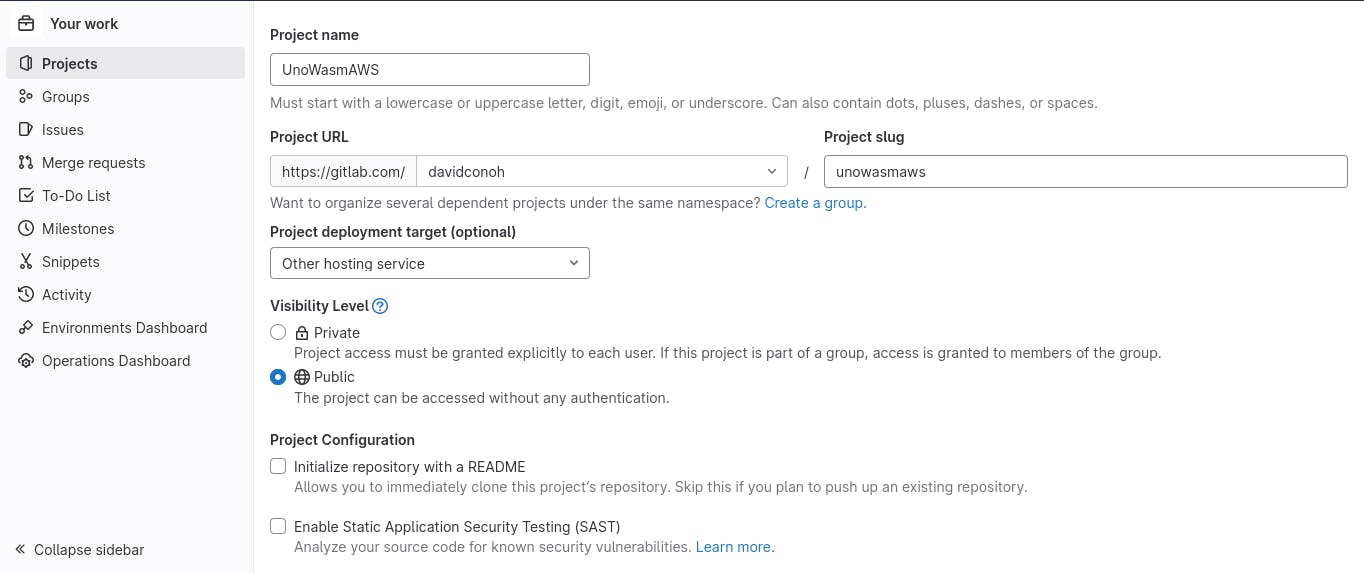
Create a GitLab repository for your application:
Log in to the GitLab website and create a new, empty repository to hold your project like this one:
To populate your new repository enter the following commands in the terminal, in the root folder of your application (making sure you have Git CLI configured with email and user):
 git add --all
 git commit -m “first commit”
 git branch -M main
 # replace <username> with your gitlab username
 # and <MyProjectName> with the actual name of your project
 git remote add origin https://gitlab.com/<username>/<MyProjectName>.git
  for ssh authentication use:
  git remote add origin git@gitlab.com:<username>/<MyProjectName>.git
  git push -u origin main
Setup Amplify:
Log in to the AWS account:
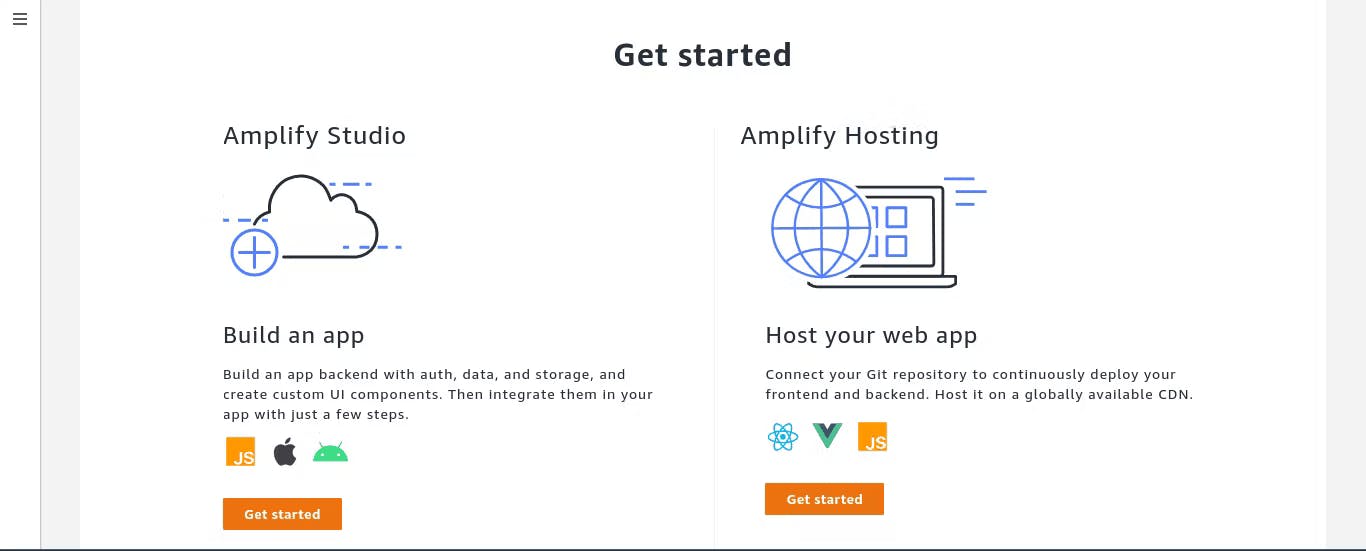
Go to AWS Amplify Service.
Select Get started, or All apps.
Select New app, Host Web App from the dropdown list.
Go to GitLab

Select Continue. If you are still logged in on your GitLab account, then the page will automatically authenticate you, otherwise select the Authenticate Button.
Choose your repository: in my case,
davidconoh/unowasmaws.Branch: main.
Select next.

Give your app a name.
Amplify.ymlwill be automatically detected and will be used to build the application on AWS.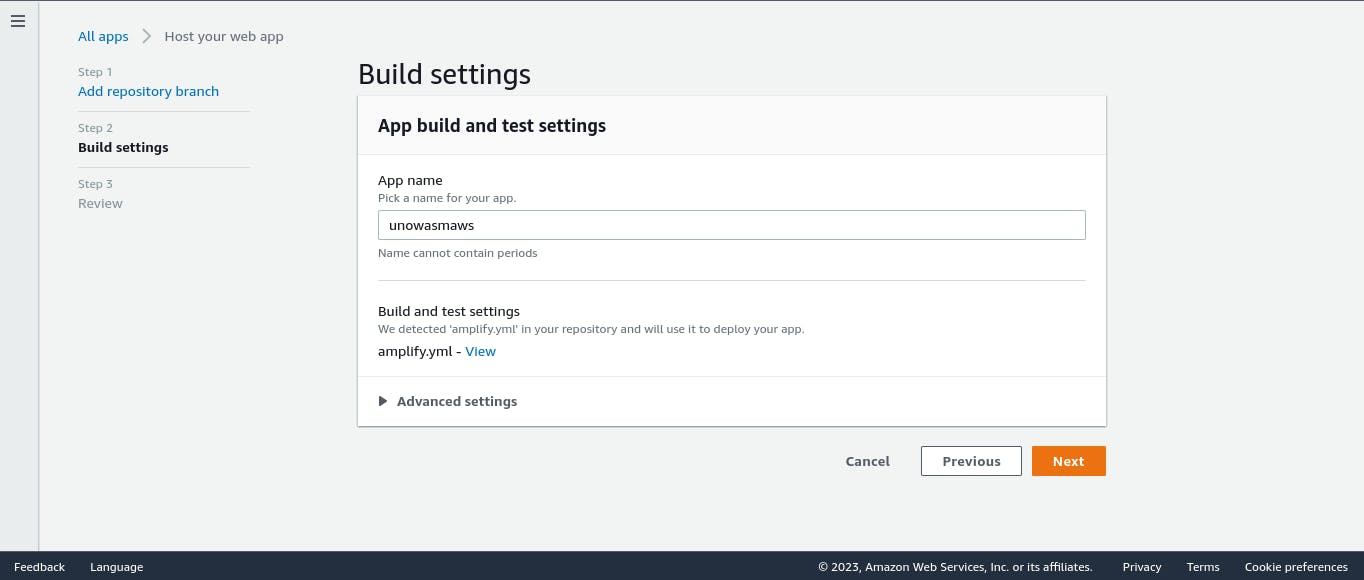
Select Next to review the configuration.
Select Save and Deploy.
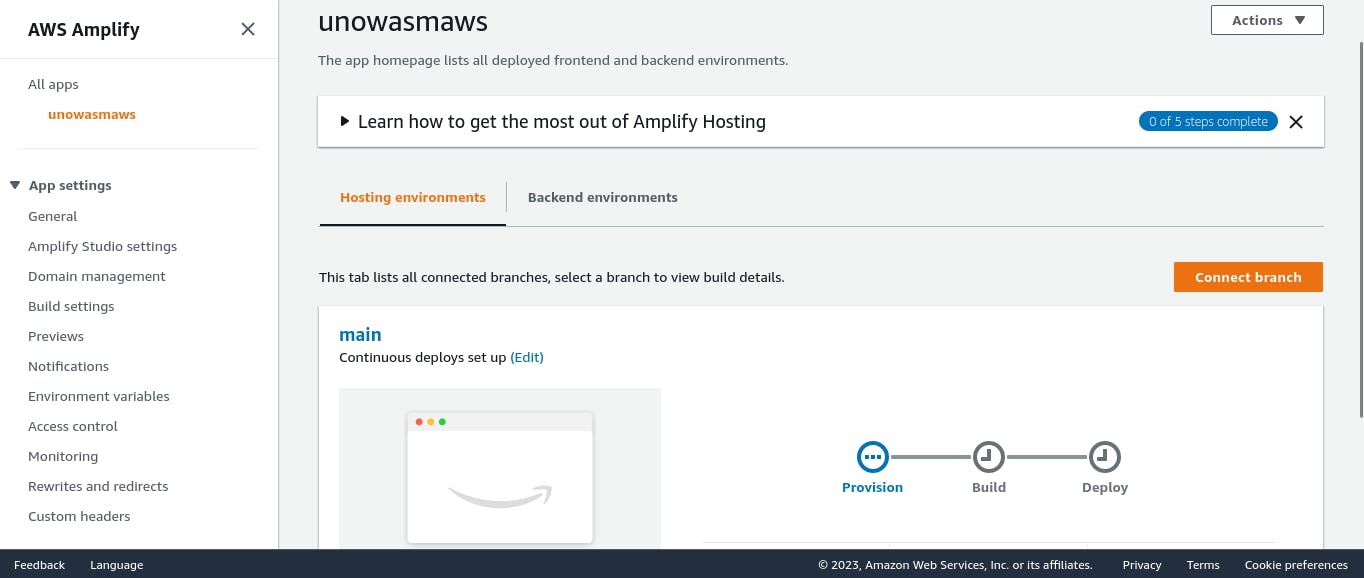
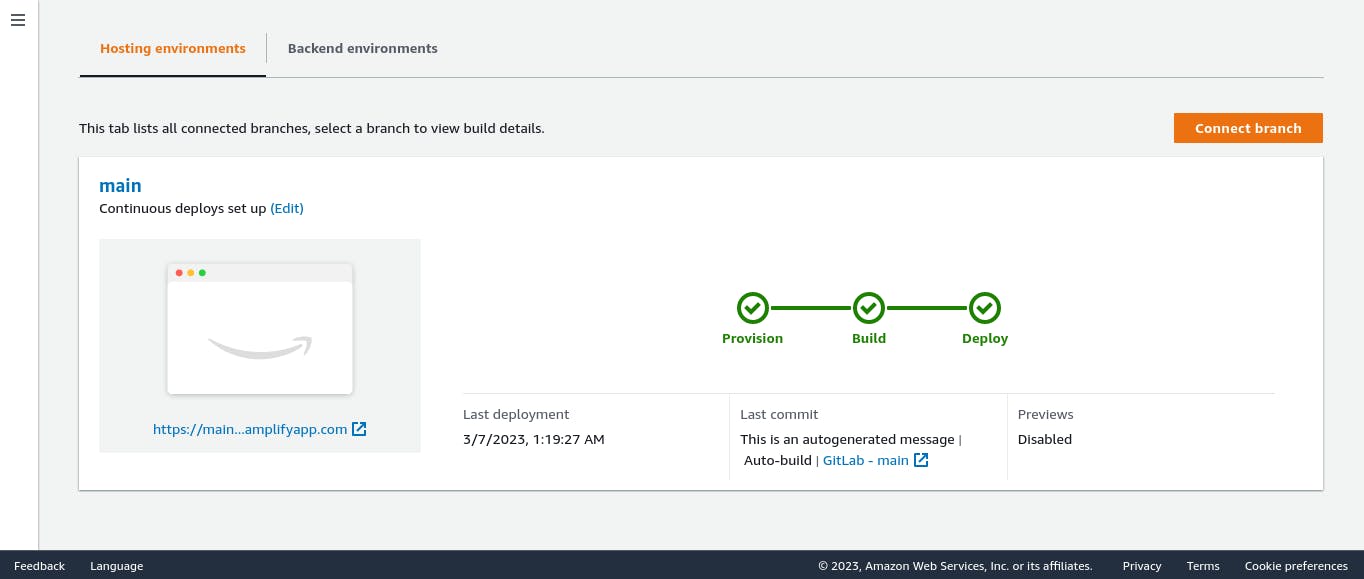
Amplify will provision, build, and deploy the application.
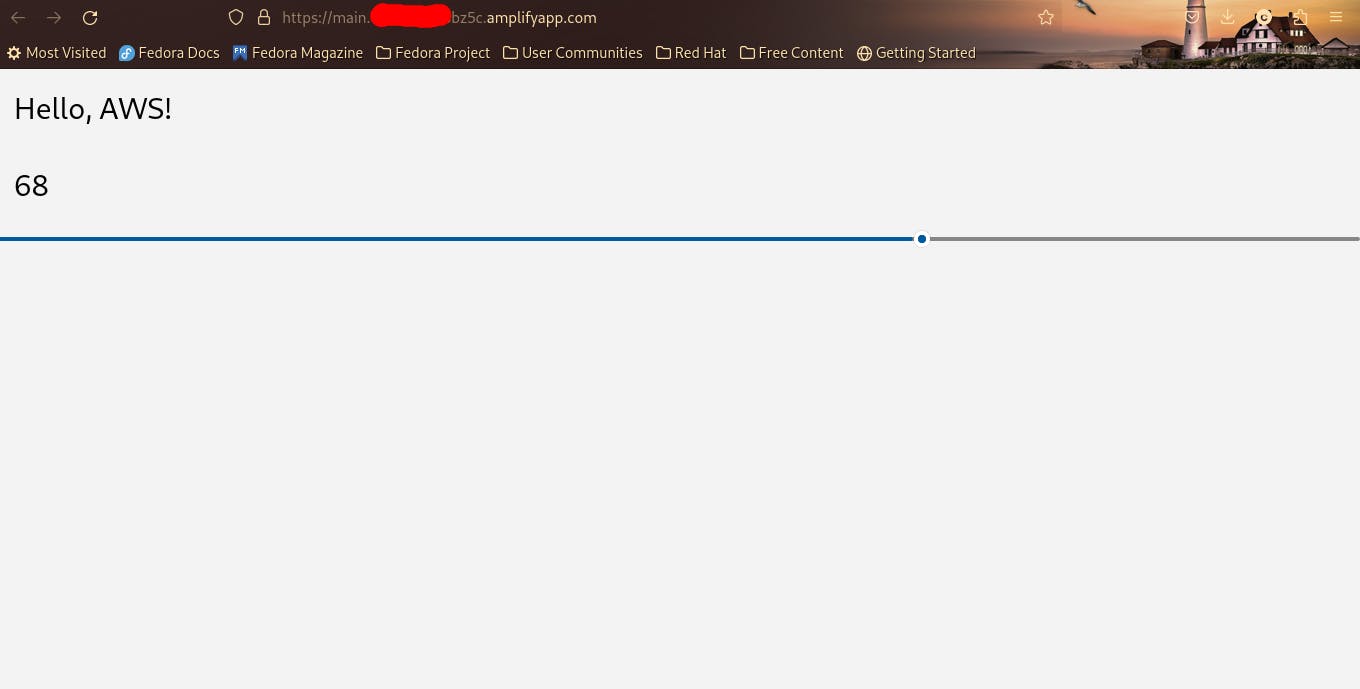
When the process is complete, select the URL of your application and test the application:
Congratulations! Your Uno Platform WASM port is running on Amplify.
Cleaning Up
To avoid incurring future charges, delete the resources. On Amplify, choose your app name on the left panel, select Actions, then Delete app.
Conclusions
Congratulations, you have now deployed an Uno Platform WebAssembly port to AWS Amplify.
In this tutorial, you learned how to easily build a full CI/CD pipeline for an Uno Platform WebAssembly port using AWS Amplify. It was only necessary to specify the repository and the amplify.yml file holding the build commands at the root directory of the repo. You can easily add a custom domain to your application by visiting Set up custom domains on AWS Amplify Hosting, as well.
To learn more about using amplify.yml to build your application, visit Configuring build settings – AWS Amplify. and .NET on AWS to learn how to migrate .NET applications to the Cloud. The .NET on AWS YouTube playlist is also packed with .NET on AWS videos, including AWS re:Invent sessions.
You can find Create a Single Page App with Uno Platform to help with a deeper understanding of Uno Platform projects. Thanks to @jeromelaban for the support! 🧦🧦
Let me know what you think in the comments.
Bringing you engagements, digital technology enveloped in new brands and ideas for your exposure through Science and Cloud. Plus, the use of AI as a tool to modify culture and inexperience calls for the need to divide true inspiration from the others and quality data from substandard ones to bring about better insights, reliable actions, and improved work benefits.
Ultracogence, hereby, envelops a clearly defined approach towards improving the traditional, inspirational artistry in… More at this post.